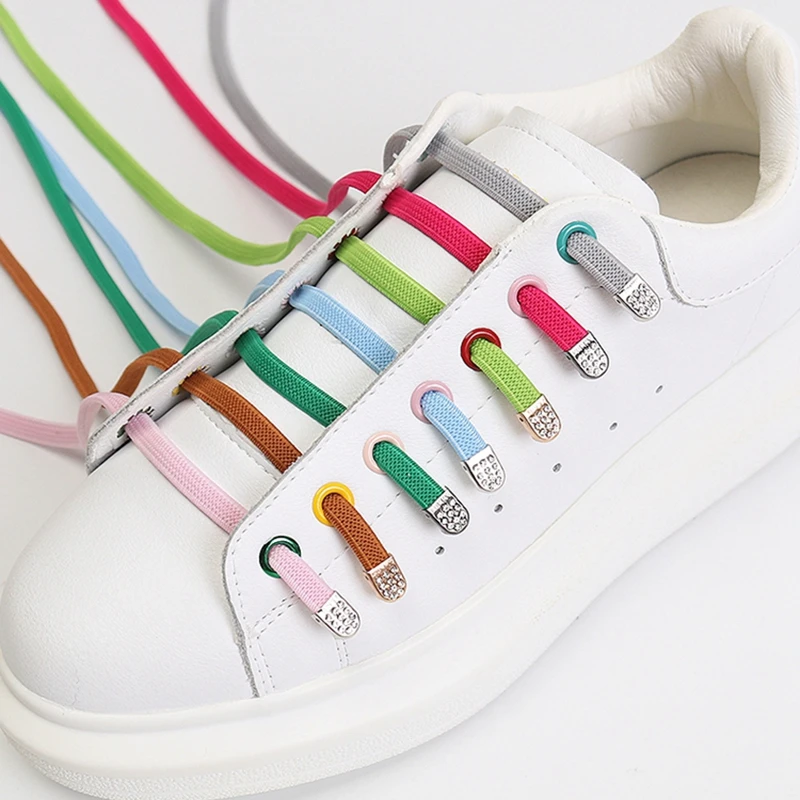
Recognizing the Signs of Shoelace Damage
How to fix frayed shoelaces? Not all shoelace wear calls for replacement. Sometimes, easy fixes can prolong their life. Look for fraying, tears, or damaged aglets. These signs indicate it’s time for repair.

When to Repair vs When to Replace Shoelaces
Repair your shoelaces if the damage is minor, like slight fraying. If they are severely damaged or too short after trimming, consider replacement. It’s also a good time to replace if you can’t find a close color match for repair materials.
Materials Needed for Shoelace Repair
Repairing frayed shoelaces requires specific materials. Without them, the job could go wrong, leading to further damage. Here are the essential items you will need for a successful shoelace repair job:
- Strong Thread: Cotton or polyester thread is ideal for its strength and ability to absorb glue.
- Craft Glue: Choose a craft, leather, or furniture repair glue. Avoid superglue as it’s too rigid.
- Heat Shrink Tubing: Necessary for mending aglets securely.
- Toothpaste (Optional): Helps clean excess glue and add color to laces if needed.
- Heating Tool: Use a heat gun or a high-powered blow dryer for best results.
- Cutting Tools: Scissors or a craft knife for trimming the lace and tubing.
Choosing the Right Glue for Shoelace Repair
Selecting the appropriate glue is critical. The chosen glue should soak into the thread well and provide a flexible hold. Avoid using superglue as it can make the lace tip stiff and prone to snapping.
Here are some guidelines for selecting glue:
- Absorbency: Pick a glue that the thread can absorb for a strong bond.
- Flexibility: Ensure the glue remains flexible after drying to maintain lace pliability.
- Drying Time: A glue that dries quickly helps to finish the repair faster.
The Role of Heat Shrink Tubing in Mending Aglets
Heat shrink tubing acts as a new aglet that wraps around the damaged lace tip.
Here’s why it’s useful:
- Protection: Offers a protective sleeve over the repaired area.
- Durability: Provides a hard-wearing and long-lasting cover.
- Fit: Shrinks to conform tightly to the lace, ensuring a snug fit.
Follow these steps with your materials and you’ll extend the life of your shoelaces!
Step-by-Step Repair with Thread and Glue
A quick and easy method to fix frayed shoelaces is with thread and glue. You’ll need the materials listed earlier, like strong thread and the right craft glue. Now, let’s get into the detailed steps to bring those laces back to life.
Preparing the Frayed Lace for Repair
First, assess the damage. If the fray is minor, you’re good to go. Cut away loose fibers to tidy up the end. Remember, we want a neat surface to work with. Next, apply a small amount of glue to the frayed tip. Think of it like painting – not too much, just enough to coat.
Wrapping and Sealing with Thread
Now, get your thread ready. Anchor one end around your finger. Start wrapping tightly from just above the fray to the tip. Keep it close and snug. The tighter, the better for a thin finish. As you wrap, the glue may drip. Wipe it off and continue wrapping. Ensure to cover every bit of glue with thread.
Drying and Finishing Touches
Once you’ve wrapped the lace, tie off the ends of the thread. Leave it to dry for about 10 minutes. If you’ve used toothpaste, now’s the time to apply it. Let it dry for another 5 minutes. After drying, clean off any toothpaste residue. Trim the very tip to make it look neat. You’re all set! Your lace should now be sturdy and ready for use.
In these simple steps, you can repair frayed shoelaces using thread and glue. The result is not only cost-effective but also prolongs the life of your laces. Remember to use the outlined tips for the best results.
 Alternative Repair Method: Using Heat Shrink Tubing
If thread and glue don’t work for you, try heat shrink tubing. It’s a solid, tech-inspired fix for frayed shoelaces. This method gives a clean, durable finish. Let’s walk through the steps to repair laces with this material.
Selecting and Cutting the Correct Tubing Size
First, find the right tubing size. It should slide over the lace end easily. Then, trim it down. About three-quarters of an inch usually works well. Matching the size of the original aglet is a good idea too. Cut the tubing straight for a tidy look later on.
Securing and Shrinking the Tubing for a Snug Fit
Insert the lace tip into the tubing. Make sure it’s centered. Then, apply heat. You can use a heat gun, a strong blow dryer, or even a lighter. Keep the heat even to avoid scorching the lace. Rotate the lace for a uniform shrink. The tubing will snugly encase the lace tip as it cools down.
Final Adjustments for a Neat Appearance
Once the tubing cools, inspect your work. Trim any excess for a smooth edge. Aim for a professional look, just like a new lace. If the result isn’t perfect, you can try again. Just cut off the tubing and repeat the steps. With practice, your repaired laces will look top-notch. Your shoelaces are now ready for action, with a fresh and secure aglet.
Creative Solutions for Colored and Patterned Shoelaces
Sometimes, your shoelaces add a pop of color or a special pattern that is hard to replace. Here’s how to repair colored or patterned laces without losing their unique charm.
Matching the Color of Your Shoelaces
The color of your shoelaces can be crucial to the overall look of your shoes. If you’re repairing laces with thread and glue, consider adding dye to the glue or using colored toothpaste to match your laces’ hue. For heat shrink tubing, find a color that closely matches your shoelaces. This will maintain the original design aesthetic after repair.
- Use Colored Glue or Dye: Mix dye with clear glue to match the color of the laces.
- Colored Toothpaste: Apply toothpaste that is close to the lace color before wrapping with thread.
- Colorful Heat Shrink Tubing: Look for tubing in a variety of colors to find the best match.
Handling Patterned or Specialty Laces
Patterned or specialty laces may require extra care. After trimming the frayed ends, use a clear heat shrink tubing to maintain the pattern’s visibility. If using thread, pick ones that complement the lace patterns. Be creative and make the repair part of the lace’s design.
- Clear Tubing: Preserves the visibility of the underlying pattern.
- Thread Selection: Choose threads that blend with or accentuate the pattern.
- Design Integration: Let the repair become a seamless addition to the unique pattern or style.
Whether you have neon green basketball shoes or patterned dress shoe laces, these tips will help keep your footwear looking sharp and functional.
Tips for Maintaining Shoelaces Post-Repair
Once you have repaired your shoelaces, it’s important to keep them in good shape. This will help avoid future fraying and extend the life of the laces.
Protecting Your Shoelaces from Future Fraying
To prevent laces from fraying again, follow these tips:
- Avoid Pulling Too Hard: When tying your shoes, don’t yank the laces. Gentle tugs are enough.
- Smooth Eyelets: Check the eyelets of your shoes. If they are sharp or jagged, they can damage laces. Smooth them out or get them repaired.
- Use Lace Savers: Consider lace savers or protectors that cover the tips and keep them safe.
- Regular Inspection: Look at your shoelaces often for early signs of wear and tear. Act fast if you see any damage.
Best Practices for Shoelace Care
Adopt these habits for long-lasting shoelaces:
- Clean Gently: When your laces get dirty, clean them with a soft cloth and mild soap. Rinse and let them dry fully.
- Untie, Don’t Pull: Always untie your shoes before taking them off. Don’t just pull the laces.
- Swap Laces Periodically: Rotate laces between shoes if possible. This gives them a break from tension and wear.
- Store Shoes Properly: Keep your shoes in a cool, dry place. This helps prevent lace damage from moisture and heat.
By following these tips, you’ll reduce the risk of fraying and maintain the functionality and appearance of your shoelaces.
 Troubleshooting Common Shoelace Repair Issues
Even the most careful repairs can hit snags. Let’s tackle some frequent troubles.
Addressing Excess Glue or Uneven Shrinking
Excess glue may seem minor but can stiffen your lace. Here’s a quick fix:
- Wipe Off Wet Glue: If the glue’s still wet, use a cloth to gently remove it.
- Trim Dry Glue: Once dry, carefully trim the excess with a craft knife.
- Prevent Future Drips: Apply glue sparingly to avoid drips next time.
Uneven shrinkage can ruin a neat finish. If this happens:
- Reheat the Tubing: Applying heat again might correct the shrinkage.
- Rotate While Heating: Turn the lace while heating for an even shrink.
- Trim Any Irregularities: After cooling, neatly cut any uneven edges.
When to Attempt a Redo
Sometimes, you need to give it another try. If you’re not happy with the repair:
- Check the Repair: Look for loose thread wraps or bumpy aglets. If they’re not right, it’s redo time.
- Gather Materials: Make sure you have your thread, glue, or tubing ready.
- Carefully Remove Old Repair: Cut off the thread or tubing without damaging the lace.
- Start Fresh: Rework the repair with what you’ve learned. Aim for a better result.
Don’t worry if your first try isn’t perfect. Practice makes perfect! Use these tips to get the best out of your shoelace repairs.