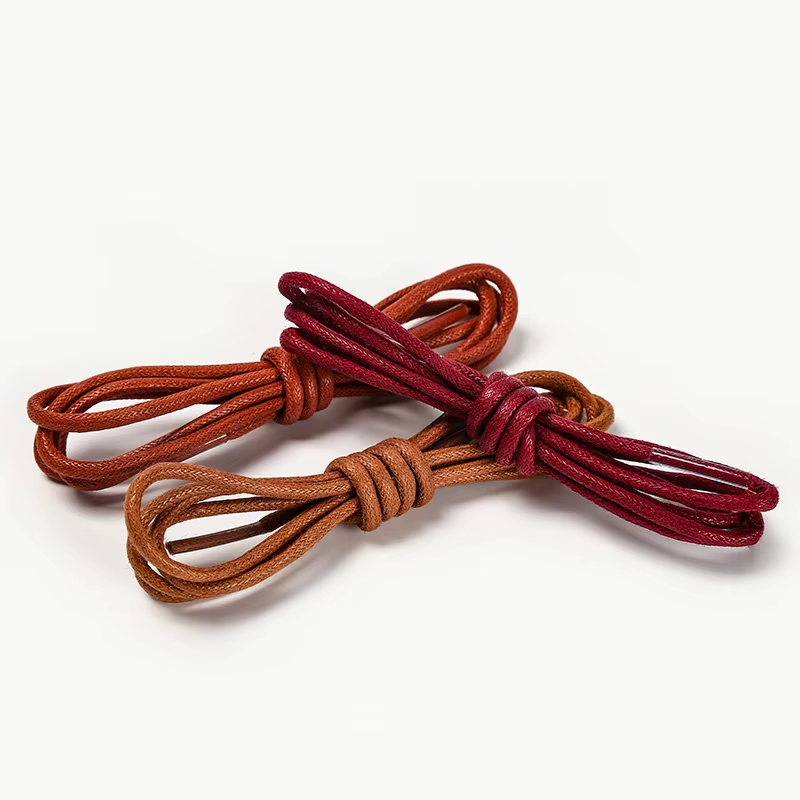
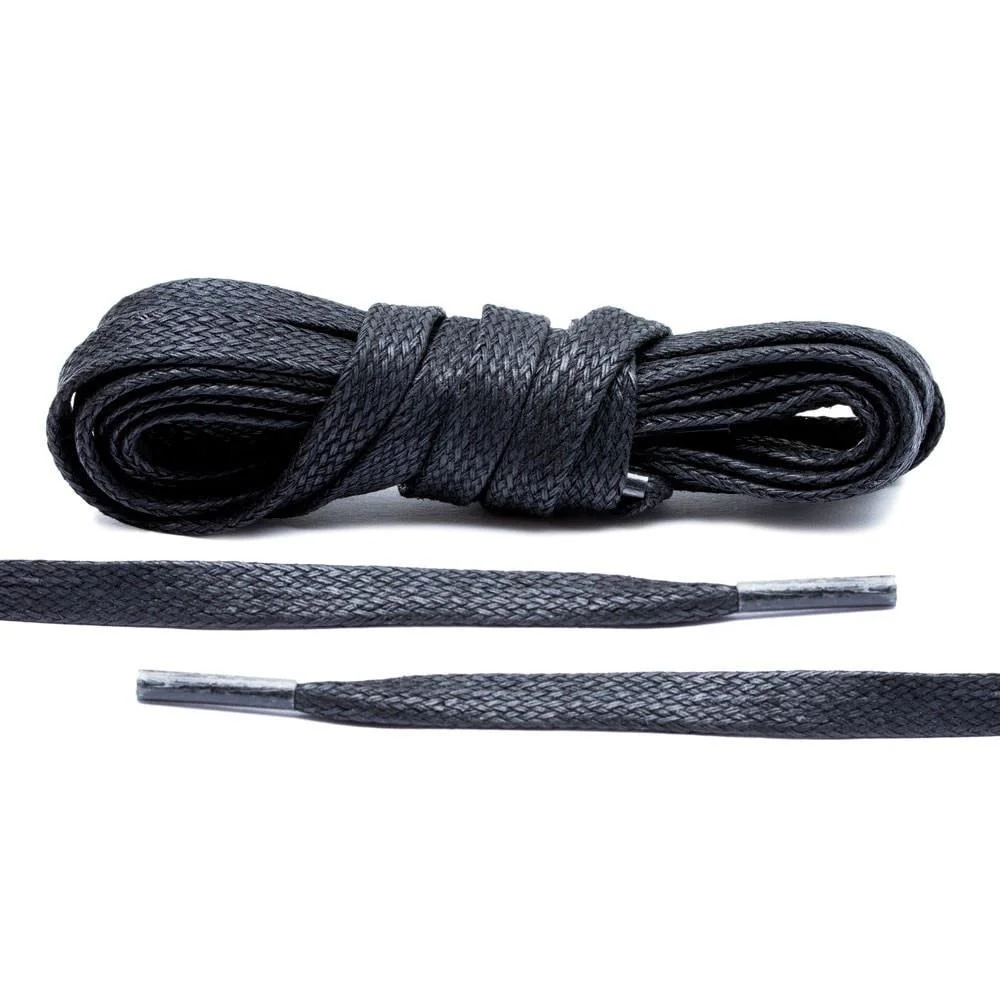
Waxing shoelaces is a great way to enhance their longevity, durability, and performance. While many might view this task as unnecessary, the benefits of well-waxed shoelaces go beyond just aesthetics. Waxed shoelaces tend to be more water-repellent, easier to tie, and less susceptible to fraying. In this detailed guide, we will explore the ins and outs of how to wax shoelaces. We will cover everything from the benefits and tools required to step-by-step instructions and care tips.
Why Wax Your Shoelaces?
Increased Durability
One of the primary reasons to wax shoelaces is to enhance their durability. Regular shoelaces can fray and lose their structural integrity over time, particularly if exposed to harsh conditions. Wax coating acts as a protective barrier, reducing wear and tear.
Improved Water Resistance
Waxed shoelaces resist moisture better than un-waxed options. This feature is particularly beneficial for individuals who frequently engage in outdoor activities or live in rainy climates. Water-resistant shoelaces keep your footwear dry and help prevent mold or mildew from forming.
Enhanced Tying Experience
Another key benefit of waxing shoelaces is that it improves how they slide through the eyelets and how well they stay tied. The wax allows for smoother movement, reducing the likelihood of the laces coming undone during activities. This factor is critical for athletes and anyone who relies heavily on their footwear.
Tools and Materials Needed
Essential Tools
Before diving into the waxing process, it’s important to gather the tools you will need:
- Wax: You can use specialty shoelace wax, beeswax, or candle wax. Each type has its benefits, but select one that suits your needs.
- Heat Source: A small candle or a heat gun can be used to warm the wax, making it easier to apply.
- Cloth or Sponge: You will need a clean cloth or sponge to help spread the wax evenly.
- Scissors: Don’t forget a pair of scissors if your shoelaces need trimming.
- Cleaning Supplies: A soft brush and mild soap can be used to clean the shoelaces before waxing.
Optional Tools
While the above tools are essential, consider the following extras:
- Pin or Needle: Used for re-threading if the laces have frayed ends.
- Rubber Gloves: To keep your hands clean while working with wax.
- Baking Tray or Aluminum Foil: If you plan to melt wax, it’s a good idea to have a surface that can catch drips.
Preparing Your Shoelaces
Cleaning Your Laces
Before waxing, it is crucial to clean your shoelaces. Here’s how to do it effectively:
- Remove the Laces: Take the laces out of your shoes to work on them comfortably.
- Brush Off Debris: Use a soft brush to remove dirt and debris. Pay special attention to areas that might have collected grime.
- Wash with Soap: Use mild soap and warm water to wash the laces. Scrub gently to avoid fraying.
- Rinse Thoroughly: Ensure all soap is removed by rinsing under clean water.
- Air Dry: Allow the shoelaces to air dry completely before proceeding to the waxing step.
Trimming Frayed Ends
If your laces have frayed, it’s advisable to trim them before waxing. This step will help in achieving a smoother finish and help the laces pass through eyelets without catching.
- Inspect the Ends: Examine the ends of the laces for frayed sections.
- Trim Neatly: Using a pair of scissors, cut at an angle to create a pointed end. This shape will help with threading through the eyelets.
- Seal the Cut: If you are concerned about future fraying, consider melting the cut end slightly using a lighter or candle flame.
How to Wax Shoelaces
Step-by-Step Waxing Process
Now that your shoelaces are clean and prepped, it’s time to wax them. Follow these steps carefully:
Melt the Wax
- Set Up Your Workspace: Place your wax in a heat-resistant container. A small metal tin or an old pot works well.
- Heat the Wax: Using a heat source, gently melt the wax over low heat. Be careful to avoid overheating or burning it.
- Use Caution: Keep a close eye on the wax while it melts, as excess heat can be hazardous.
Apply the Wax
- Dip the Shoelaces: Once the wax is melted, dip a section of the shoelace into the wax, ensuring it is fully coated. Make sure to keep the lace submerged for a few seconds to absorb the wax.
- Remove Excess Wax: Pull the lace out of the wax and allow excess to drip back into the container.
- Spread the Wax: Use a cloth or sponge to spread the wax evenly along the length of the shoelace. This helps create a uniform coating.
Cool Down
- Allow Time for Cooling: Place the waxed shoelaces on a flat surface and let them cool for a few minutes. The wax will harden as it cools.
- Check for Evenness: After cooling, inspect the laces to ensure that the wax is evenly distributed. If you notice any bare spots, you may want to repeat the dipping and spreading process.
Reattach Laces
Once the laces are fully cooled and waxed, you’re ready to reattach them to your shoes.
- Threading the Laces: Insert the waxed end of the laces through the eyelets. The wax will make this process smoother and easier.
- Tying the Shoelaces: Once threaded, pull them tight and tie your preferred knot. The wax will help keep them tied securely.
Maintaining Waxed Shoelaces
Care Tips for Longevity
To get the most out of your waxed shoelaces, consider the following maintenance tips:
- Regular Cleaning: Clean the laces periodically using a soft brush or damp cloth. Remove dirt and debris to maintain their appearance.
- Re-Wax as Needed: Depending on your activity level and exposure to elements, re-wax your shoelaces every few months to maintain their waxed state.
- Store Properly: If you’re not using your shoes for an extended period, store them in a cool, dry place. Avoid damp areas that promote mildew.
Troubleshooting Common Issues
Even with proper maintenance, you may encounter some common issues:
- Crispy Laces: If your laces become too stiff, they may be over-waxed. Consider applying less wax during your next application.
- Squeaking Laces: Sometimes, wax can cause laces to squeak while moving. If this happens, gently rub the laces with a cloth to reduce friction.
- Unraveling Laces: If the ends begin to fray again after waxing, consider trimming and melting the ends once more to keep them neat.
 Advantages of Waxed Shoelaces Over Traditional Options
Performance
In terms of performance, waxed shoelaces offer several advantages. They enhance grip, making it easier to keep your shoes tied firmly. This characteristic is particularly important during athletics or when engaging in outdoor activities.
Versatility
Waxed shoelaces are compatible with a wide variety of footwear, from hiking boots to casual trainers. Their adaptability ensures that they can function well across diverse types of shoes, regardless of the climate or activity.
Aesthetic Appeal
In addition to functional benefits, many people find that waxed shoelaces offer a sleeker, more polished look than regular shoelaces. They often hold color better and resist fading, making them look newer for longer.
Conclusion
Learning how to wax shoelaces is a simple yet effective way to enhance their performance and lifespan. By following the steps outlined in this guide, you can easily wax your shoelaces to ensure they remain durable and aesthetically pleasing. The benefits of added durability, improved water resistance, and a smoother tying experience make the effort worthwhile. So go ahead, give your shoelaces a new lease of life by applying wax. With proper care and maintenance, your waxed shoelaces will not only look good but also serve you well in any condition.

