When it comes to tying shoelaces, many people overlook the artistry involved in creating a stylish and functional knot. While traditional methods work, fashionistas and practicality seekers alike have often looked for innovative techniques. One such method is the star shoelace knot, a striking way to secure your shoes while showcasing creativity. In this tutorial, we will provide a comprehensive step-by-step guide to perfecting the star shoelaces tie, ensuring that not only will your shoes stay securely fastened, but they will also stand out in a crowd.
Understanding the Basics of Shoelaces
The Anatomy of Shoelaces
Before diving into the tutorial, it’s crucial to understand the components of shoelaces. Typical shoelaces are made from durable materials like cotton, nylon, or polyester, and they come in various lengths and thicknesses. The two ends of the shoelace are known as aglets, which are often made from plastic or metal to prevent fraying. The length of the laces you need may vary depending on the type of shoes you’re using, so education on selecting the correct length is essential before proceeding.
Why Choose the Star Shoelace Knot?
The star shoelace knot stands out because of its appealing aesthetic and functionality. It not only provides security and minimizes the risk of the laces coming undone but also gives your footwear an original flair. This method can be particularly advantageous in outdoor activities, where a firm hold of your laces is critical for safety and performance.
Gather Your Materials
Required Tools
To effectively follow this tutorial, gather the following materials:
- Shoes with Eyelets: Ideally, use shoes with at least six pairs of eyelets for the best results.
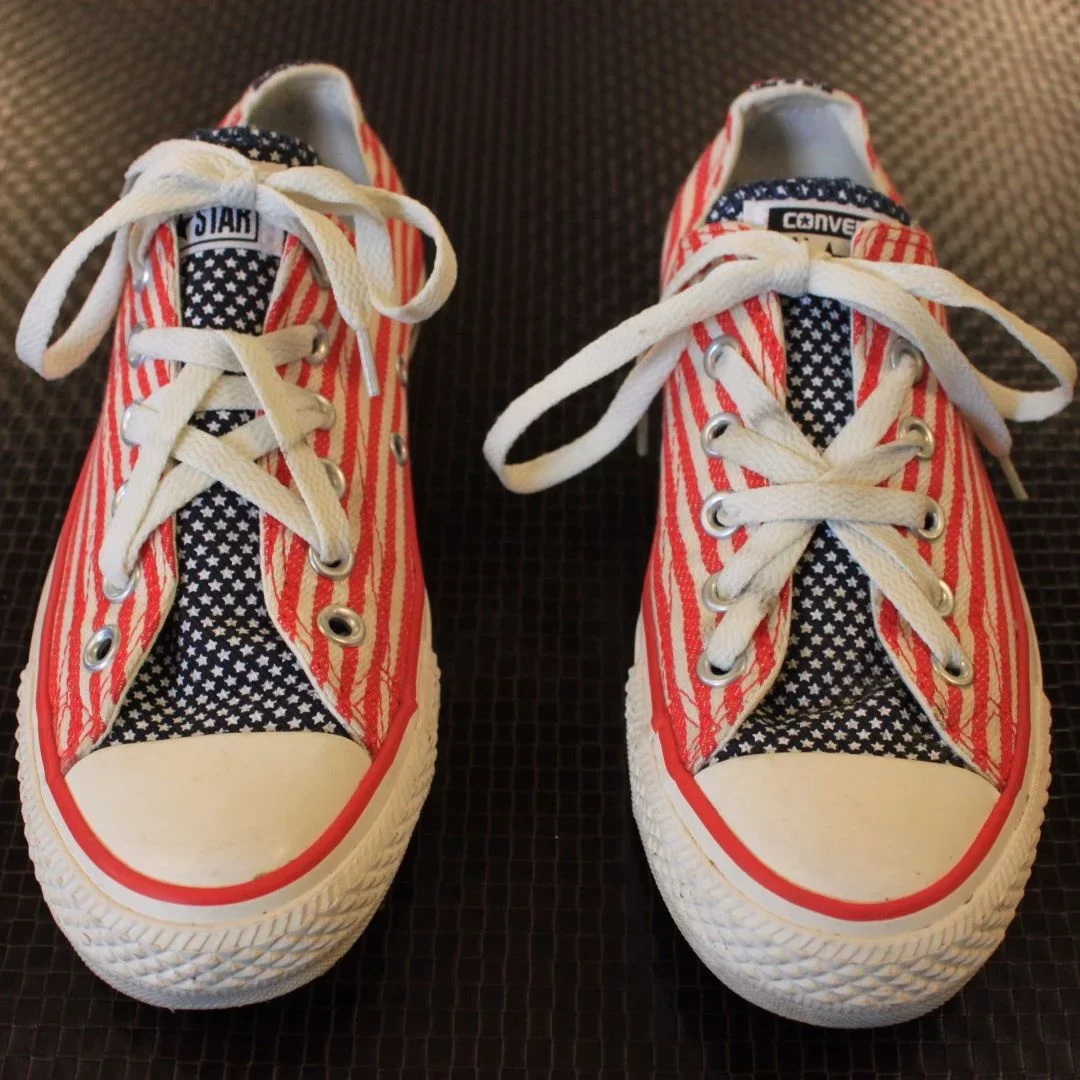
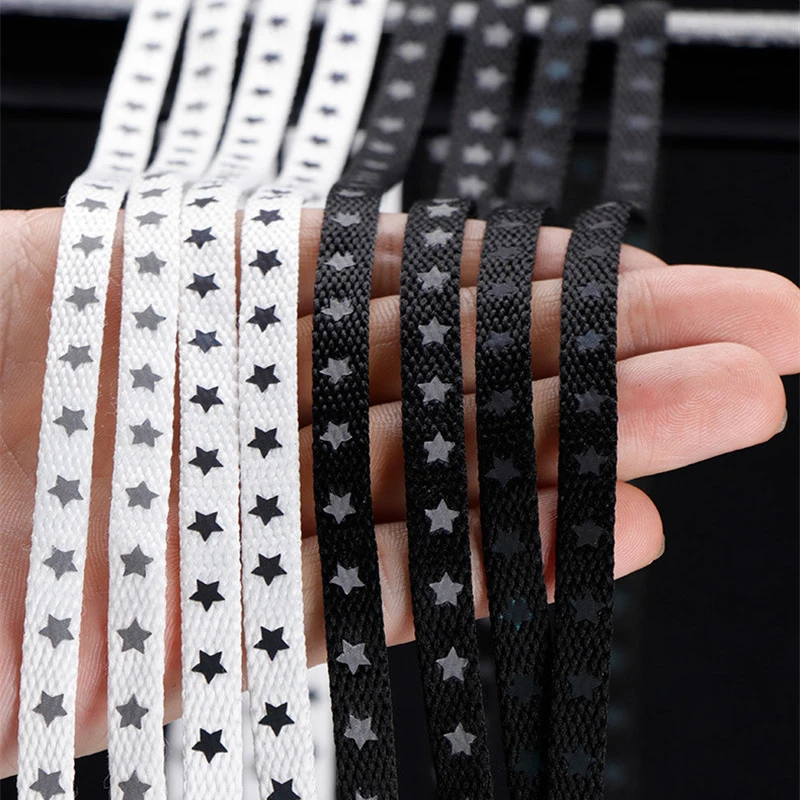
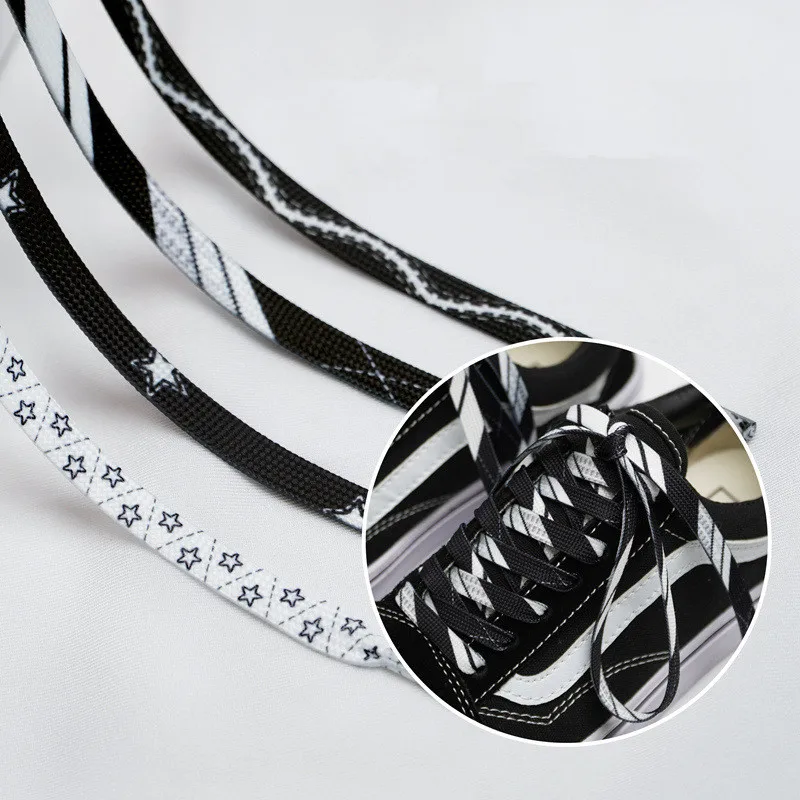
- Shoelaces: Choose a contrasting color to enhance the visual effect of the knot.
- Scissors (Optional): If you’re dealing with long laces that need trimming, scissors will come in handy.
Choosing the Right Shoelaces
When selecting shoelaces for the star knot, consider both length and material. If your shoelaces are too long, they may lead to a bulky appearance, whereas too short laces might not provide the necessary functionality. A 36 to 54-inch lace is generally a good choice for most types of shoes, but always double-check before purchasing. The thickness of the lace can also influence the final look of your shoelace star, with thicker laces providing a bolder appearance.
Step-by-Step Instructions for Tying Star Shoelaces
Step 1: Prepare the Laces
Before you begin tying, prepare your shoelaces by using both ends to create an even distribution through the eyelets. Insert the laces from the bottom up, leaving an equal amount of lace hanging on both sides. This equal length is essential for achieving a balanced and visually appealing star knot.
Step 2: Cross the Laces
Start the process by crossing the left lace over the right lace. Pull the laces tight to ensure they are secured within the eyelets. The crossing action is crucial, as it forms the base for the upcoming steps.
Step 3: Create the Initial Knot
Take the lace that is now on the right and wrap it around the left lace, pulling it through the loop you’ve just formed. This initial knot serves to anchor your shoelaces and provides a strong foundation for the star shape. It’s vital to maintain tension in the laces to keep the knot secure.
Step 4: Form the Star Points
Now comes the creative part: forming the star points. Take the lace now on your left, which should be the lace that was originally on the right, and wrap it around to create the first point of the star. Here’s how to do it:
- Wrap Around: Bring the left lace over the top of the right lace again, making sure you keep the prior knot in line.
- Loop Through: Pull the end of the lace under and through the loop you’ve created by wrapping it around.
- Tighten: Gently pull both ends of the laces to tighten the first star point.
Step 5: Repeat for Additional Points
Continue this pattern to create the remaining points of the star. This typically involves 4 to 5 points, depending on how ornate you’d like your star to be.
Remember the Tension
It’s essential to keep adequate tension on the shoelaces throughout the tying process. If the laces are tightened too much, you may struggle to maintain the symmetrical look of the star. Conversely, if they are too loose, the star may end up distorted or may unravel.
Step 6: Finish the Star Shoelace Knot
Once you have formed the desired number of points, it’s time to finalize your knot.
- Create a Overhand Knot: Bring both ends together at the base, just like you would in a traditional shoelace tie.
- Secure it: Pull through, ensuring that all points of the star remain intact.
- Double Knot: For added security, consider tying a double knot to prevent any accidental unraveling.
Step 7: Tidy Up
Make sure to tuck any excess lace back through the eyelets or trim with scissors if there’s an unnecessary length. Keeping your shoelaces neat not only makes for a better visual but also prevents tripping hazards.
Tips for Perfecting the Star Shoelace Knot
Practicing Makes Perfect
Don’t get discouraged if your first few attempts at creating a star knot aren’t flawless. This tying method may take a bit of practice to perfect, so keep trying until you achieve the ideal look.
Experimenting with Colors
Feel free to play around with different colored laces to achieve the desired visual impact. Bright colors can create a vibrant look while earthy tones can lend a more subtle aesthetic.
Matching with Different Footwear
The star tying method can be used on a variety of footwear styles, such as sneakers, boots, or even dress shoes. Experiment with different types of shoes to see how the star shoelace knot complements various styles.
 Troubleshooting Common Issues
Laces Too Long or Too Short
If your laces end up being too long after finishing the star knot, you can simply tuck the excess lace back through the eyelets or trim them. Conversely, should they be too short, it’s best to try with a new, longer lace to ensure comfort and function.
Uneven Star Points
If you notice that your star points are not even, don’t worry! You can adjust them slightly by loosening and tightening laces accordingly. Practice will refine your technique and help you achieve a better balance.
The Benefits of the Star Shoelace Knot
Style Meets Functionality
The star shoelace knot is not only visually appealing but also functional. Its unique structure minimizes the risk of your shoelaces coming undone during physical activities—a benefit that outdoor enthusiasts will appreciate.
Expression of Personal Style
Tying laces in a star shape allows for self-expression. Just like clothing, shoes can also convey personality, and a colorful star knot can speak volumes about your character.
Versatile Application
This method can adapt to various lace types and lengths. Whether you’re styling your trainers or enhancing your outdoor boots, the star shoelace knot serves versatile purposes.
Conclusion: Mastering the Tutorial Star Shoelaces Step by Step
In this tutorial, we explored the intricate yet rewarding process of tying star shoelaces step by step. With proper materials, practice, and an eye for detail, you can secure your footwear while expressing your individuality. Enjoy the journey of mastering this tie, and don’t hesitate to showcase your creations to others—who knows, you might inspire them to elevate their shoelacing game too! The star shoelace knot is more than a functional tie; it’s a style statement waiting to be made. Whether you’re dressing up for an occasion or gearing up for a casual outing, mastering this knot will set you apart. So go ahead, grab those laces, and start your journey toward tie perfection!